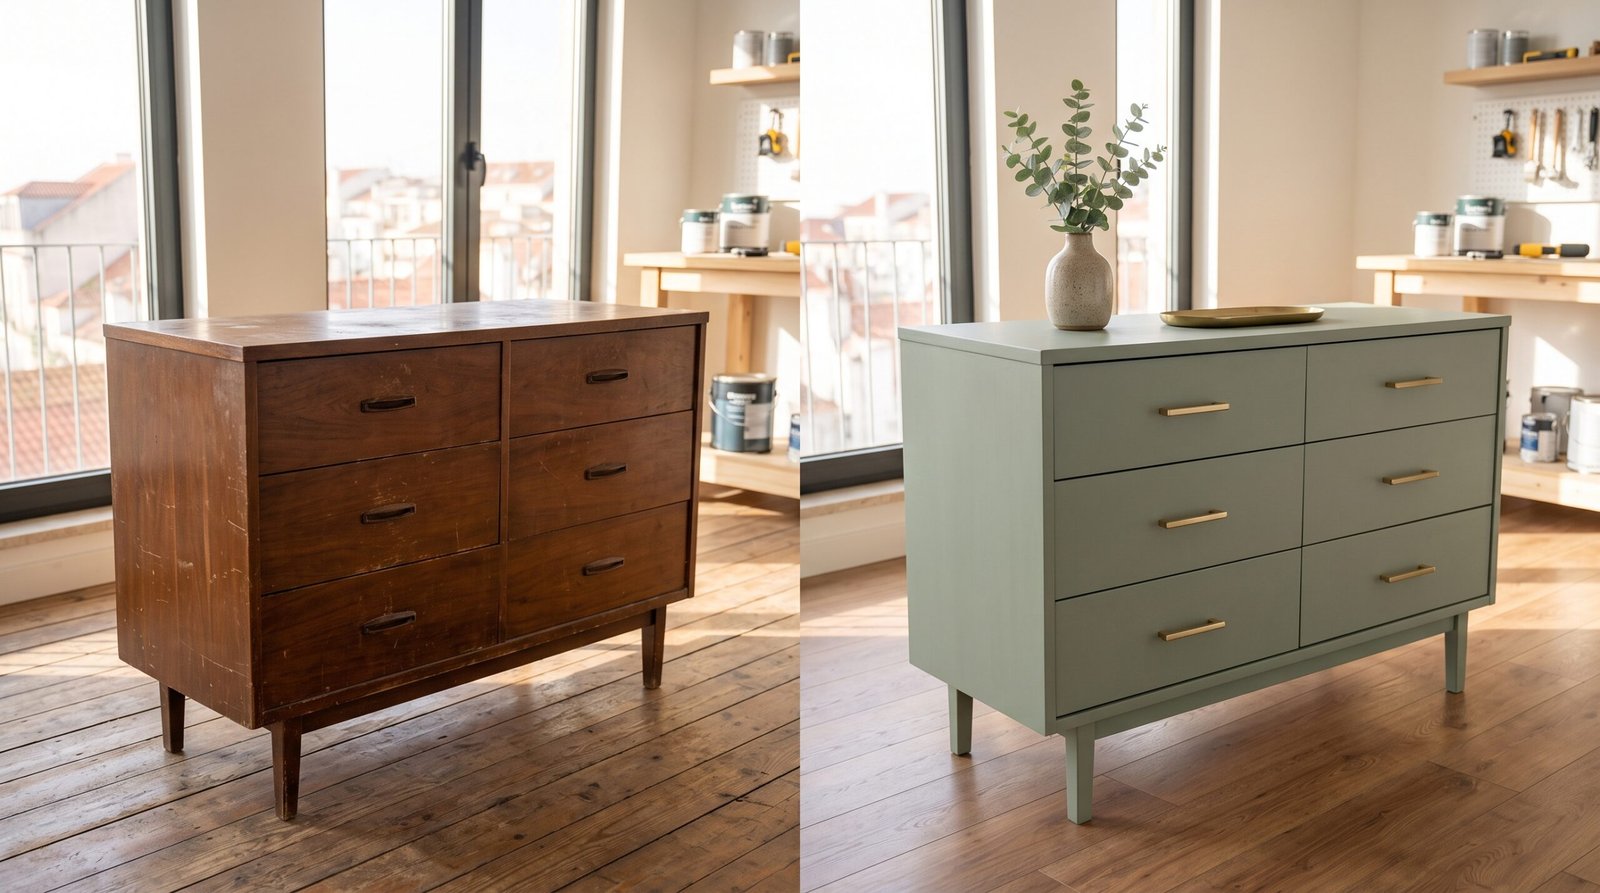
Upgrading your home interior does not require spending thousands on brand-new designer furniture. Tackling Easy upcycling projects allows you to repurpose neglected thrift finds, outdated wooden tables, and worn dressers into stylish statement pieces while keeping costs minimal.
With basic prep work, modern chalk or mineral paints, and budget-friendly hardware swaps, you can breathe fresh life into durable vintage pieces. This step-by-step guide walks you through accessible techniques to transform old furniture into functional, modern home decor.
Key Takeaways
- Prioritize Proper Prep: Thorough cleaning with a degreaser and scuff sanding prevents peeling paint and ensures long-term finish durability.
- Use Chalk or Mineral Paints: High-adhesion specialty paints minimize intensive priming and deliver smooth, matte finishes across wood and laminate surfaces.
- Upgrade Hardware for Quick Impact: Swapping outdated drawer pulls for modern brushed brass or matte black hardware instantly modernizes any piece.
- Seal for Everyday Protection: Apply clear matte polycrylic or protective furniture wax on high-touch surfaces like table tops and desks.
1. Essential Tools and Surface Preparation
The secret to a professional, long-lasting upcycled piece lies in the prep work before applying the first coat of paint.
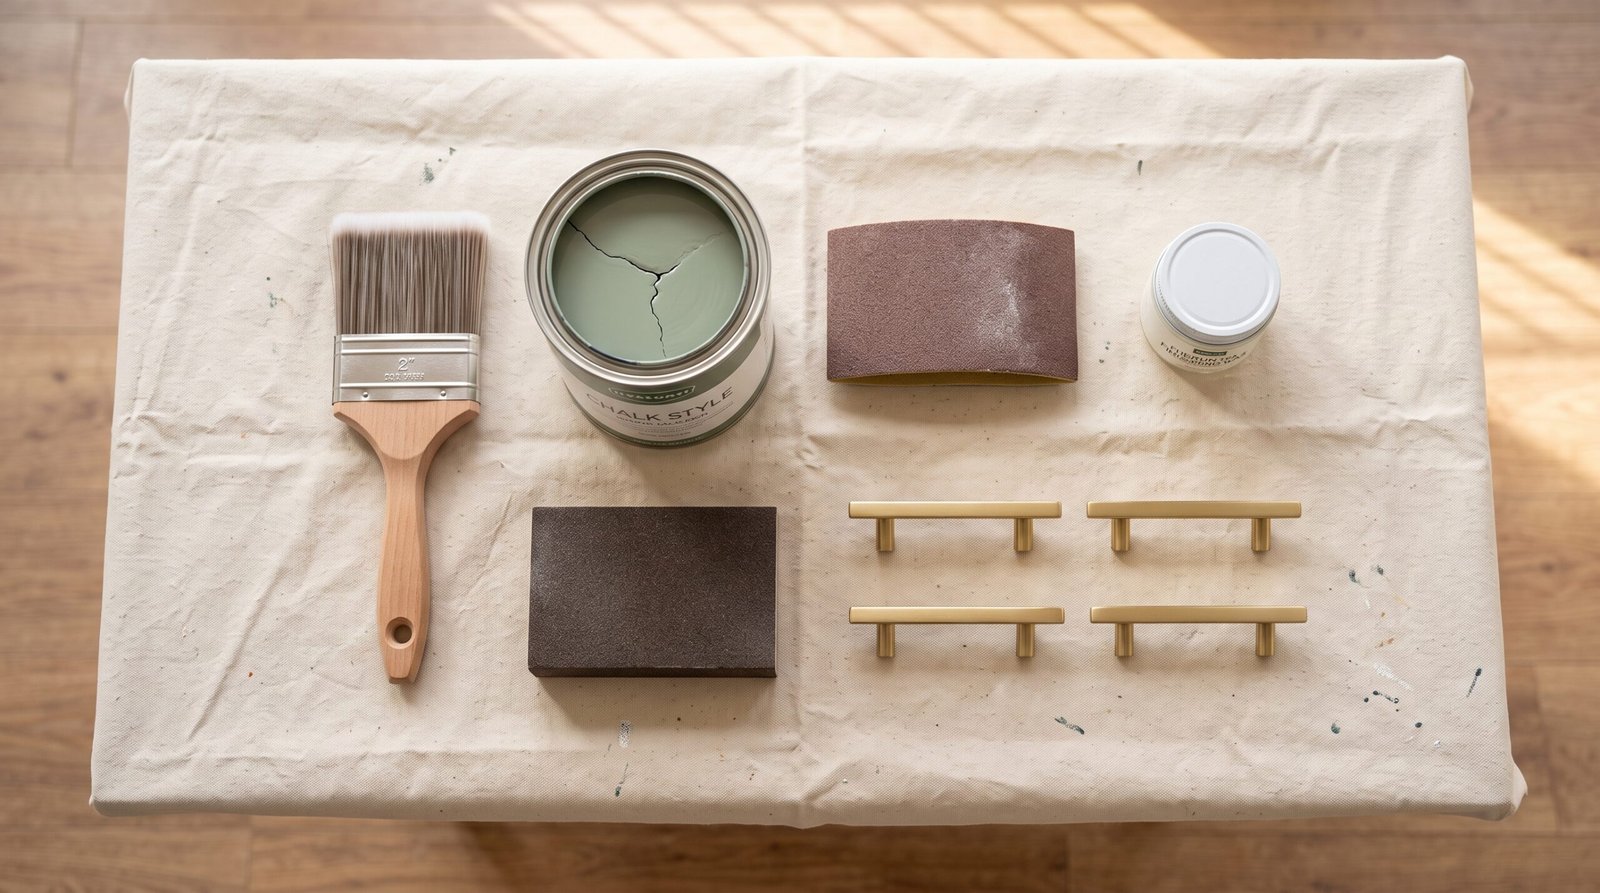
- Deep Clean the Surface: Remove years of built-up grime, oils, and wax using a solution of warm water and TSP (Trisodium Phosphate) or a standard gentle dish soap.
- Scuff Sanding: You don’t need to strip bare wood completely. Lightly scuff the existing finish with 120- to 150-grit sandpaper to create tooth for new coatings.
- Fill Imperfections: Use stainable wood filler to repair deep gouges, scratches, or old hardware screw holes if you are switching pull configurations.
2. Best Painting and Finishing Techniques for Beginners
Choosing the correct paint type ensures your finished piece handles daily wear without chipping.
| Paint / Finish Type | Best Application | Pros | Cons |
| Chalk Finish Paint | Vintage dressers, ornate chairs | Excellent adhesion, minimal sanding needed | Requires a protective wax or topcoat |
| All-in-One Mineral Paint | Cabinets, nightstands, desks | Built-in topcoat, self-leveling, durable | Faster dry time requires quick application |
| Latex Enamel | Large shelving, heavy-use tables | Budget-friendly, widely available colors | Requires dedicated bonding primer first |
| Wood Stain / Gel Stain | Solid natural wood surfaces | Enhances natural grain and character | Only works on stripped or raw wood |
3. High-Impact, Low-Cost Customization Ideas
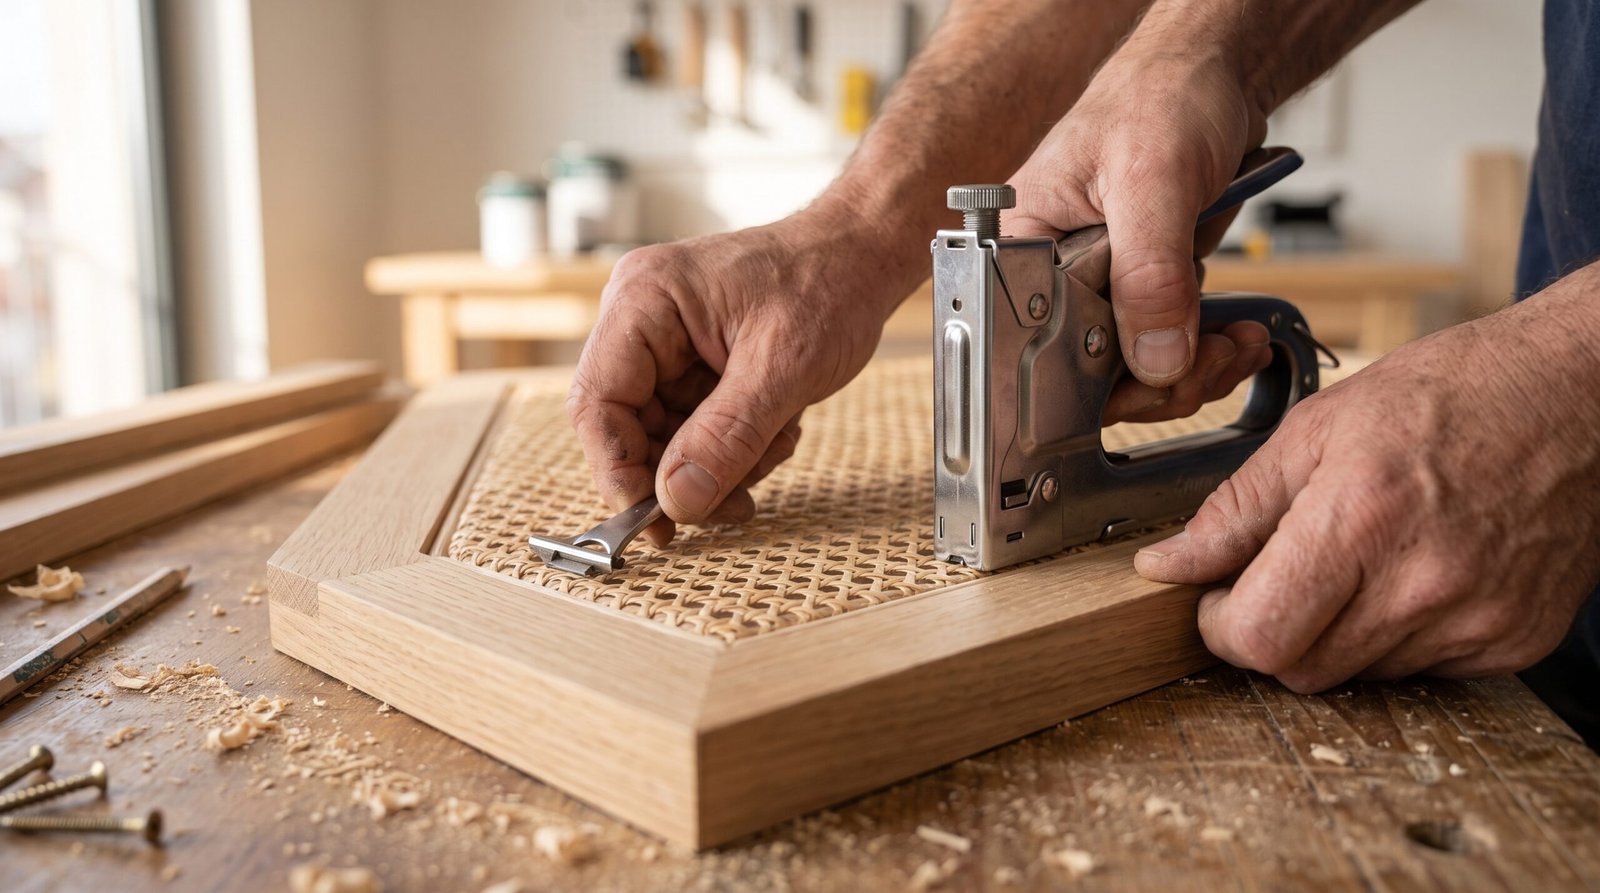
Beyond a simple coat of paint, subtle design upgrades give transformed furniture an upscale, custom-made aesthetic.
Modern Hardware Swaps
Replacing ornate, tarnished handles with minimalist bar pulls, ceramic knobs, or modern knurled metals immediately shifts a piece from outdated to contemporary.
Peel-and-Stick Wallpaper Accents
Line the backs of open bookshelves or the inside bottoms of dresser drawers with subtle botanical or geometric peel-and-stick wallpaper for a burst of hidden color and texture.
Fluted and Slat Wood Detailing
Attach thin half-round dowels or wooden slats to flat drawer fronts using wood glue before painting to create trendy, textured fluted furniture found in high-end design showrooms.
4. Step-by-Step Upcycling Checklist
- Inspect & Remove Hardware: Unscrew all hinges, knobs, and pulls; label screws in separate bags.
- Clean & Degrease: Wipe all exterior and interior surfaces thoroughly.
- Scuff Sand: Evenly buff all surfaces to remove the glossy top layer.
- Apply Two Thin Coats: Use a high-density foam roller for flat panels and an angled synthetic brush for detailed trim, allowing full dry time between coats.
- Protect the Finish: Apply two thin layers of water-based polycrylic to surfaces that see daily handling.
- Install New Hardware: Measure twice, drill new holes if necessary, and secure modern handles.
Frequently Asked Questions
What is the easiest furniture piece to upcycle for complete beginners?
A small solid wood nightstand, side table, or wooden dining chair is the best starting point. They require minimal paint, provide straightforward flat surfaces, and can be completed in a single afternoon.
Do I really need to sand before painting furniture?
While chalk and mineral paints boast no-sanding claims, a quick 5-minute scuff sand with medium-grit sandpaper significantly increases paint bonding strength and prevents peeling over time.
How do I prevent brush strokes from showing on my upcycled furniture?
Use a high-density foam roller on large flat surfaces, apply paint in thin layers rather than one thick coat, and lightly sand between coats with ultra-fine 220-grit sandpaper.
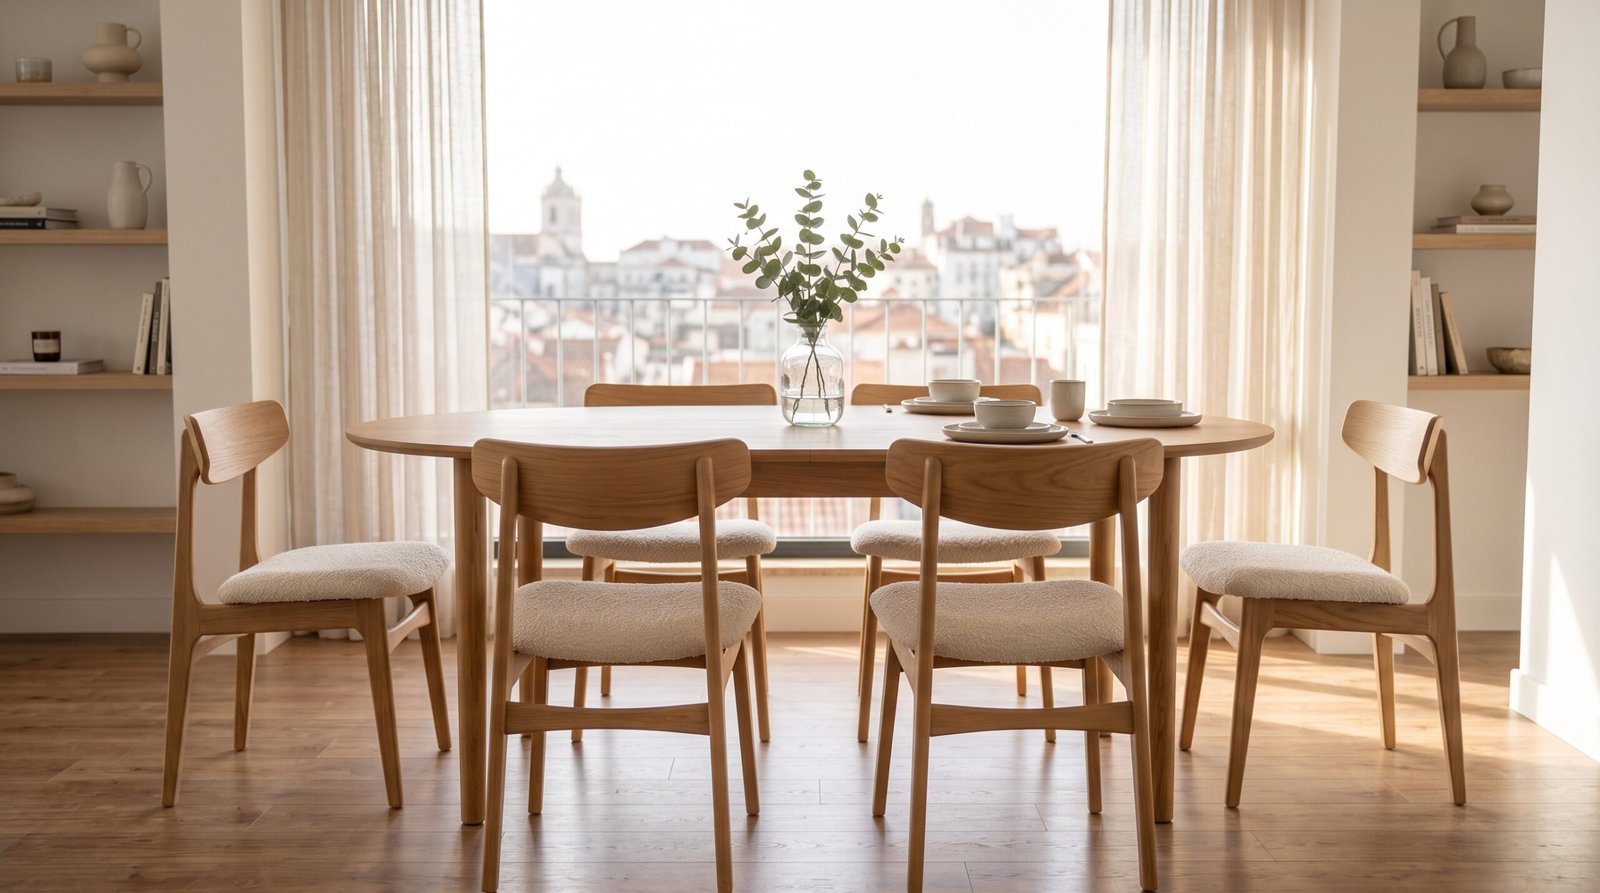
Diving into easy upcycling projects allows you to craft sustainable, one-of-a-kind home accents tailored to your personal aesthetic. Start small with a simple accent table, follow proper surface prep, and enjoy the creative process of turning forgotten furniture into functional art.
1 thought on “Easy upcycling projects to Transform Old Furniture”