Minor household malfunctions are an unavoidable part of homeownership. From a faucet that won’t stop dripping to a door that squeaks every time it moves, small maintenance issues can quickly disrupt your daily routine if left unaddressed. Fortunately, tackling quick household repairs does not require years of construction experience or an expensive contractor.
With a few basic tools and the right guidance, you can resolve the most common residential issues safely, quickly, and cost-effectively.
Key Takeaways
- Address problems early: Fixing minor issues immediately prevents costly structural or water damage down the road.
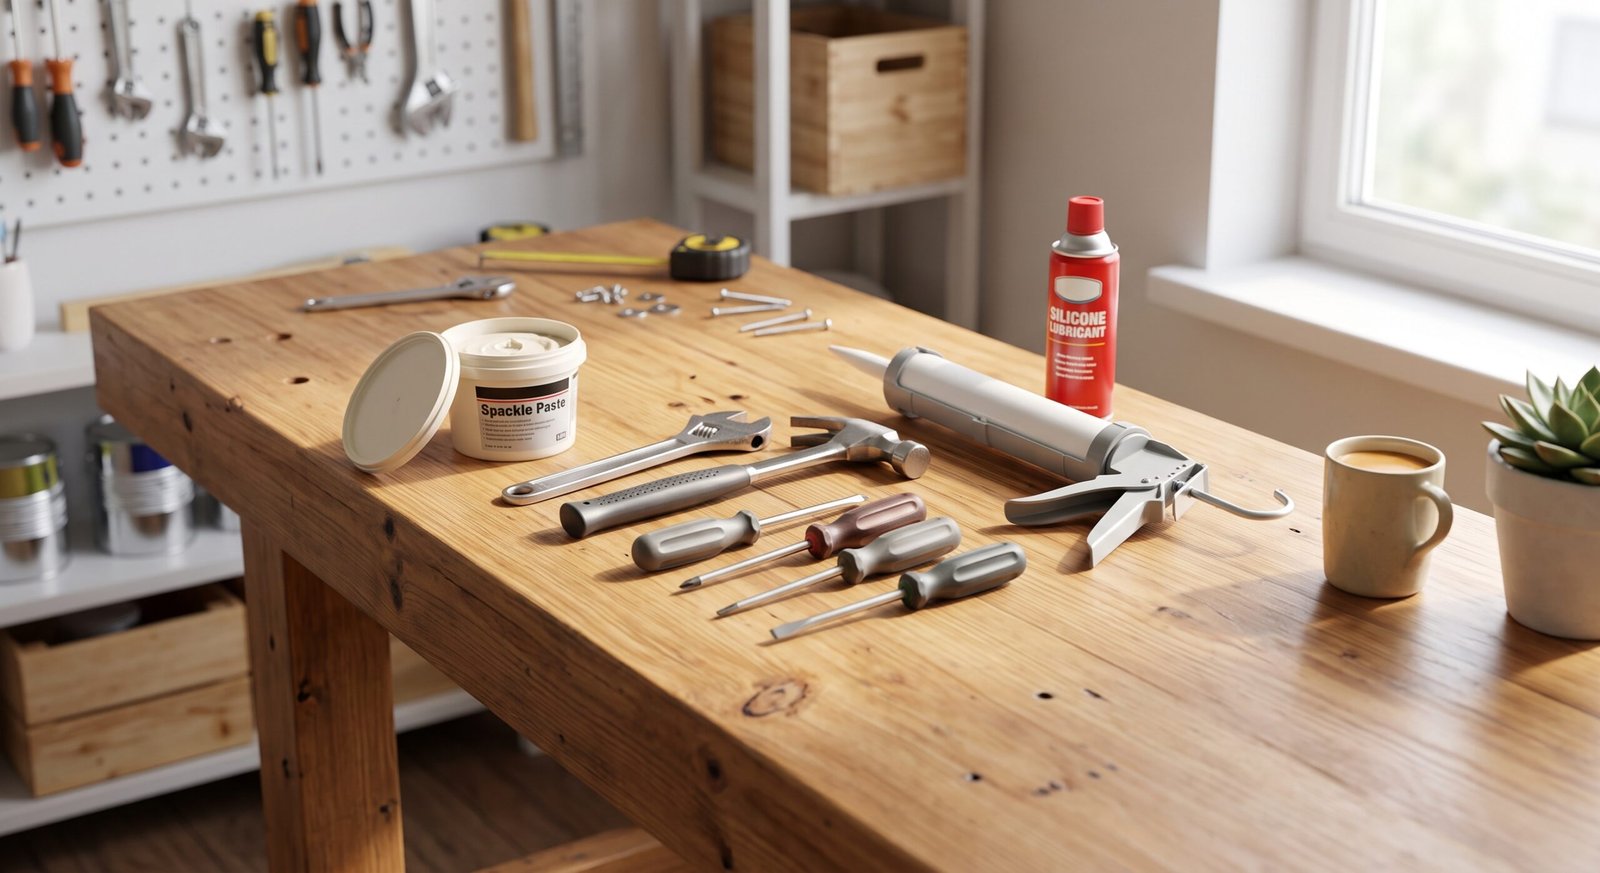
- Basic toolkit essentials: A claw hammer, multi-bit screwdriver, adjustable wrench, putty knife, and utility knife can resolve over 80% of routine household problems.
- Safety first: Always shut off the primary water supply or circuit breakers before starting plumbing or electrical tasks.
- Know your limits: Use DIY methods for simple mechanical and cosmetic fixes; call licensed professionals for main-panel electrical work or structural repairs.
1. Silencing Squeaky Hinges and Sticky Doors
A squeaking or sticking door is one of the easiest issues to fix, yet it remains one of the most common complaints in modern households.
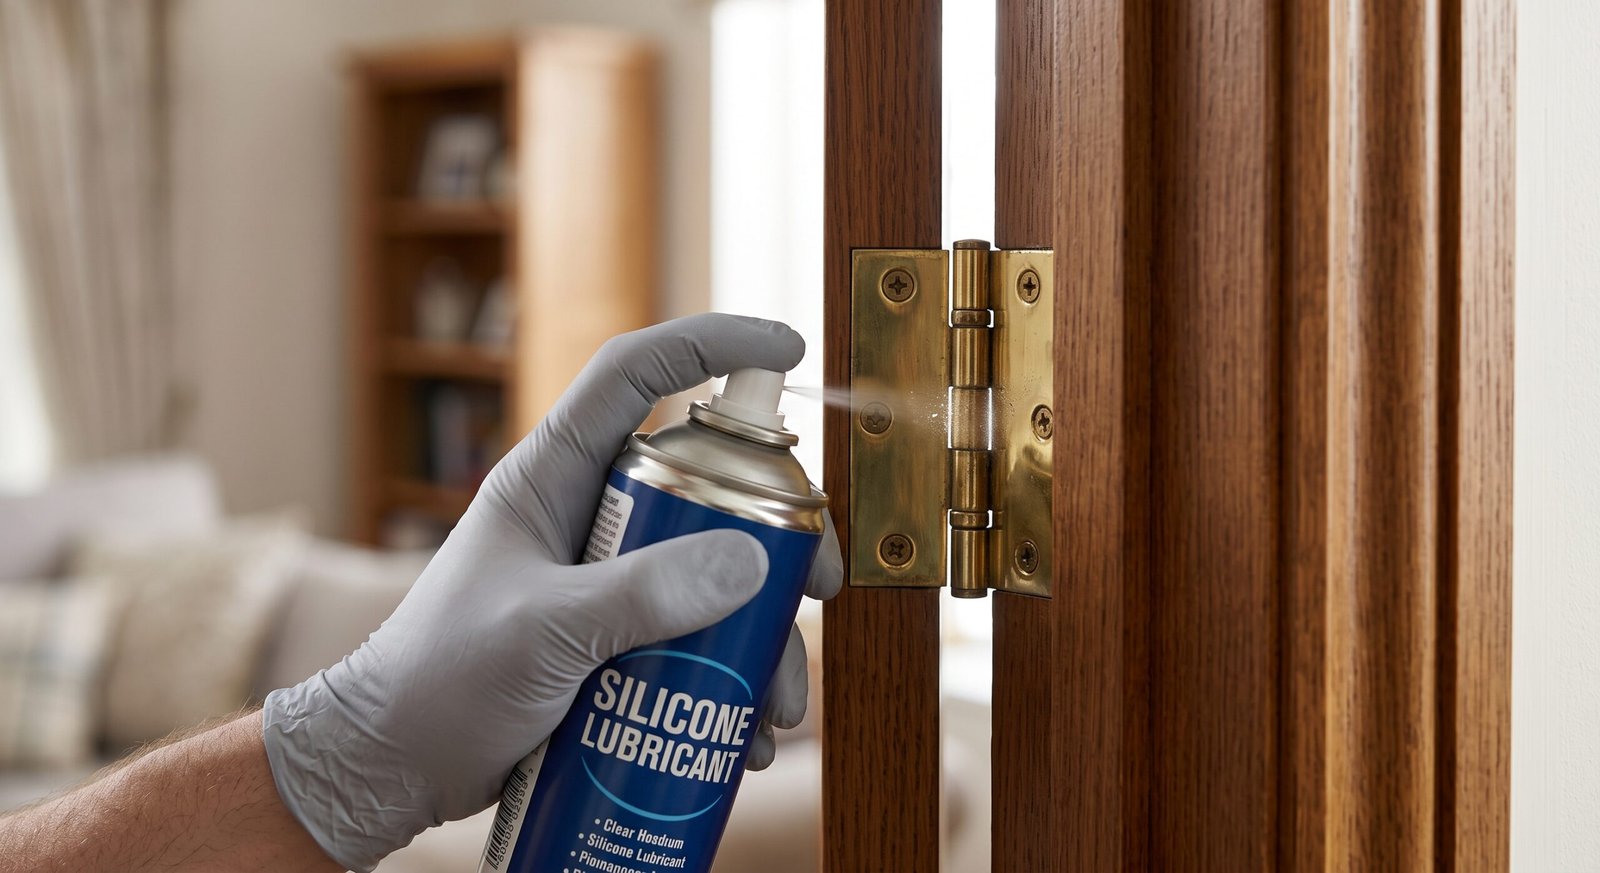
- Clean and Lubricate: Avoid using standard cooking oils, which attract dirt and gum up over time. Instead, apply a silicone-based spray or dry graphite lubricant directly onto the hinge pin while opening and closing the door to distribute the liquid evenly.
- Deep Clean Corroded Pins: If the squeak persists, tap the hinge pin out using a hammer and a nail punch. Scrub off rust with fine steel wool, coat the pin with white lithium grease, and tap it back into place.
- Correct Binding Doors: If the door rubs against the frame, tighten the top hinge screws. If the screw holes are stripped, remove the screw, insert a glue-coated wooden toothpick or golf tee into the hole, trim it flush, and re-drive the screw.
2. Fixing a Running or Constantly Filling Toilet
A running toilet can waste hundreds of gallons of water each week. Most internal tank problems come down to three quick-to-replace components: the flapper, the fill valve, or the chain length.
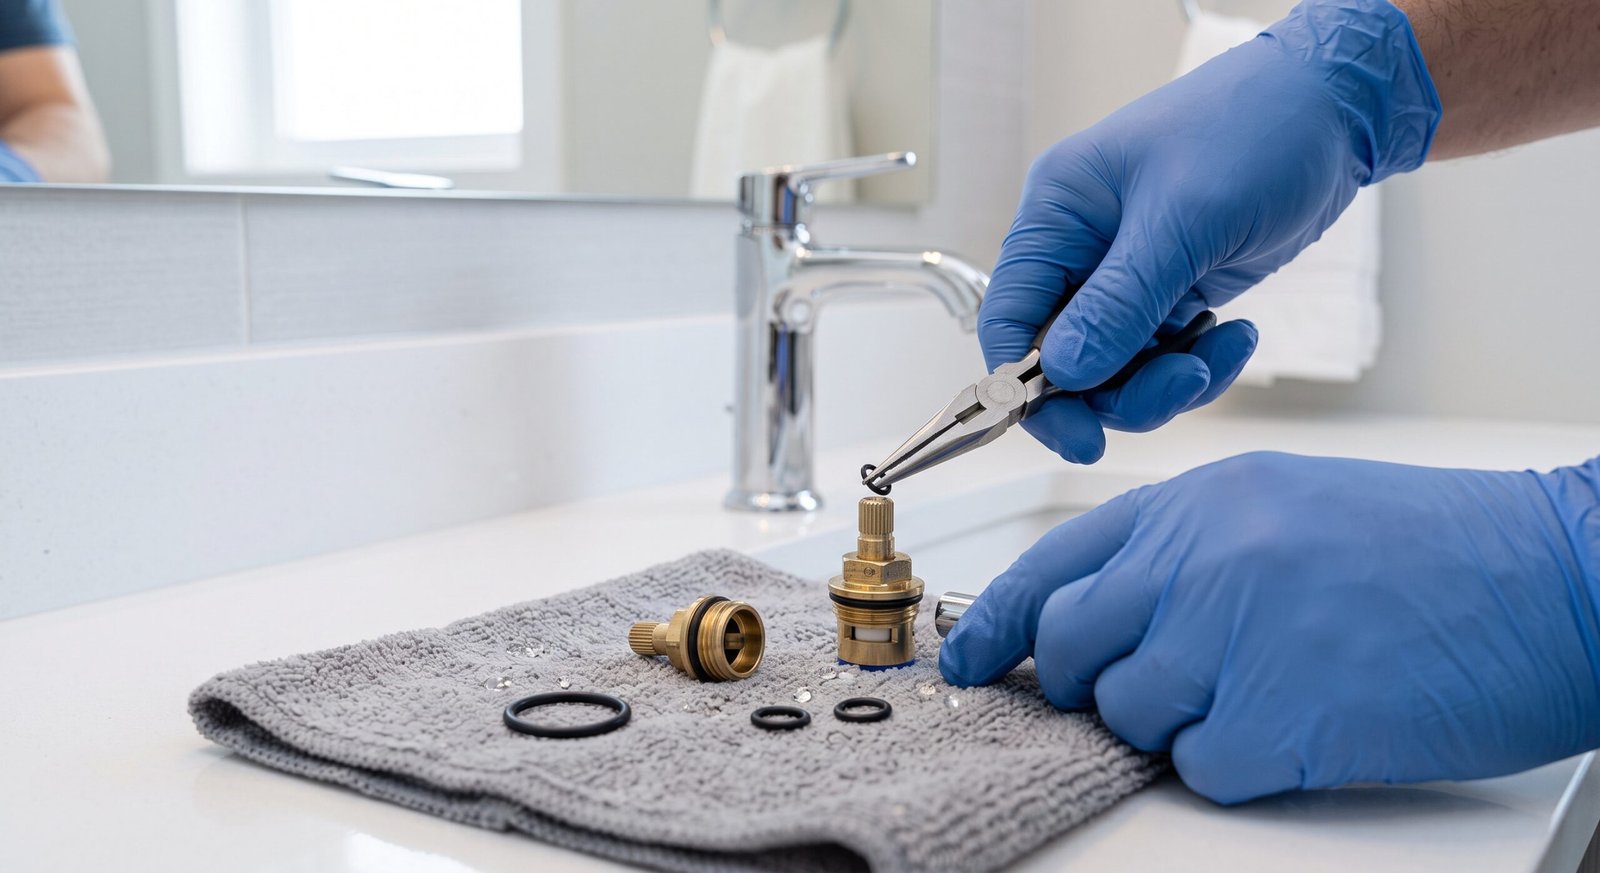
- Inspect the Flapper: Turn off the shut-off valve behind the toilet. Flush to empty the tank. Inspect the rubber flapper at the bottom; if it is cracked, stiff, or coated in mineral scale, unclip it and replace it with a universal rubber flapper.
- Adjust the Float Height: If water continuously spills into the overflow tube, the float level is set too high. Turn the adjustment screw on top of the fill valve clockwise or slide the float clip downward so the water level stops roughly 1 inch below the top of the overflow pipe.
- Calibrate the Lift Chain: Ensure the chain connecting the flush handle lever to the flapper has roughly half an inch of slack. Too much slack prevents the flapper from opening fully, while a tight chain keeps it lifted, creating an ongoing leak.
For persistent issues involving supply lines, refer to our comprehensive [Internal Link: Step-by-Step Guide to Bathroom Plumbing Maintenance.
3. Patching Small Drywall Holes and Dents
Whether caused by moving furniture or swinging door handles, small drywall blemishes can make an entire room look worn.
- Clean the Edges: Remove loose gypsum paper and debris around the perimeter using a sharp utility knife.
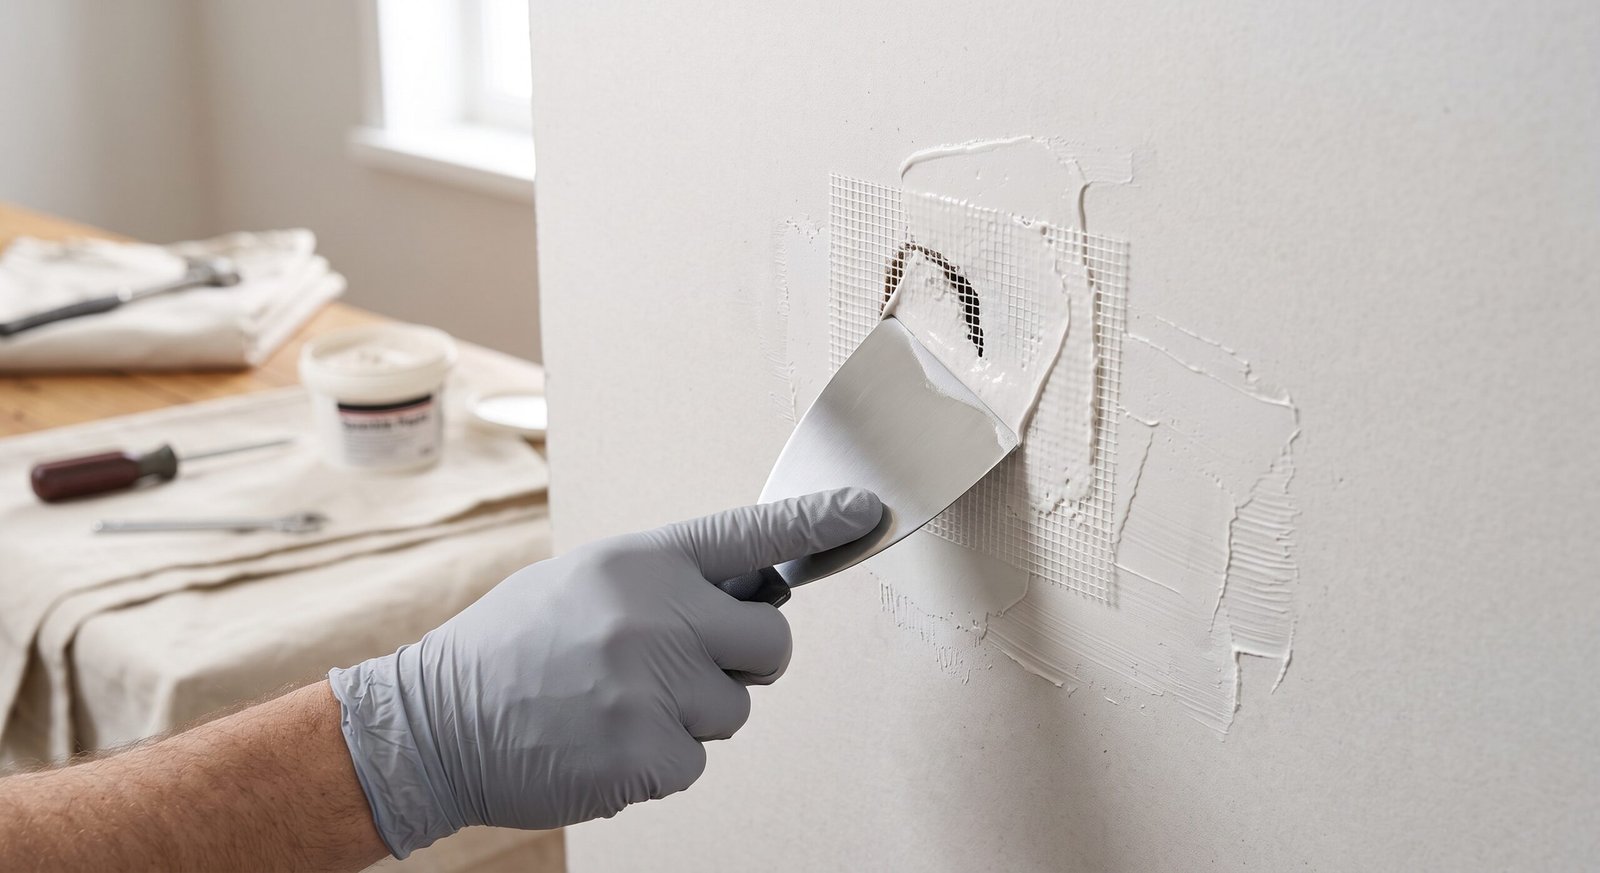
- Apply Spackle or Joint Compound: For holes under 1 inch, press lightweight spackling compound firmly into the indentation using a flexible putty knife. Smooth the surface flush with the wall in an “X” motion to prevent sagging.
- Use Mesh for Medium Holes: For larger holes (1 to 3 inches), apply a self-adhesive fiberglass mesh patch over the hole before spreading two thin coats of joint compound across the area, feathering the edges outward.
- Sand and Match Texture: Once dry (typically 2 to 4 hours), sand the patch smooth with 120-grit sandpaper. Apply a primer layer before applying your matching wall paint.
4. Unclogging Slow Drains Without Harsh Chemicals
Caustic chemical drain cleaners can corrode older pipes and damage fixture finishes. Learning mechanical quick household repairs for slow drains keeps your plumbing system in optimal condition.
Common Sink Drain Clear Flow:
[Remove Pop-Up Stopper] ➔ [Clear Hair/Debris with Zip-It Tool] ➔ [Clean P-Trap Manually]
- Clear the Pop-Up Stopper: Remove the stopper by twisting or releasing the pivot rod under the sink. Pull out trapped hair and soap scum using a plastic barbed drain-cleaning tool.
- Empty the P-Trap: Place a bucket under the curved pipe beneath the sink. Loosen the two slip nuts by hand or with channel-lock pliers. Clear any trapped blockage directly into the bucket, inspect the rubber slip-washers for wear, and reassemble firmly without over-tightening.
5. Resealing Gaps Around Bathtubs and Sinks
Failing caulk lines allow moisture to penetrate behind tiles and drywall, leading to hidden mold growth and costly repairs.
- Remove Old Caulk: Use a dedicated caulk removal tool or utility razor blade to scrape away the existing sealant completely. Clean the surface thoroughly with isopropyl alcohol to remove soap residue.
- Tape Clean Lines: Apply parallel strips of painter’s tape roughly 1/4 inch apart along the seam to create crisp, uniform edges.
- Lay and Tool the Bead: Apply a continuous, even bead of 100% silicone bathroom caulk at a 45-degree angle. Smooth the bead with a damp, gloved finger or smoothing tool, and peel away the painter’s tape immediately while the caulk is still wet.
Frequently Asked Questions
What are the most common quick household repairs a beginner can do?
The easiest repairs for beginners include silencing squeaky hinges, replacing toilet flappers, patching small nail holes with spackle, recaulking sinks, and changing worn weatherstripping around exterior doors.
What basic tools do I need for standard DIY home repairs?
A well-rounded starter toolkit includes a 16-oz claw hammer, a multi-bit screwdriver, an adjustable wrench, channel-lock pliers, a 4-inch putty knife, a utility knife, a torpedo level, and a 16-foot tape measure.
When should I call a professional instead of doing a DIY repair?
Always contact a licensed technician when dealing with main electrical panel wiring, gas line appliances, structural foundation issues, or extensive plumbing repairs located inside closed walls.
Learning how to handle quick household repairs empowers you to keep your living space safe, functional, and visually appealing without waiting on expensive service calls. By keeping the proper tools on hand and following steady, step-by-step techniques, you can resolve minor domestic issues quickly and protect the long-term value of your home.
1 thought on “Quick Household Repairs: Easy DIY Solutions Every Home owner Should Know”