Mastering quick DIY home repairs is an essential skill for homeowners across the US. From a dripping faucet that keeps you awake at night to an interior door that squeaks every time it opens, small maintenance issues can disrupt your daily routine. While your first instinct might be to call an expensive contractor or handyman, taking charge of quick DIY home repairs yourself saves hundreds of dollars while protecting your property value.
With a modest starter toolkit and straightforward techniques, you can execute the most practical quick DIY home repairs safely, quickly, and cleanly. Learning these quick DIY home repairs early helps you maintain your living space with complete confidence.
Key Takeaways
- Catch Small Leaks Early: Promptly fixing running toilets and unsealed fixtures prevents catastrophic water damage, rot, and costly mold remediation bills.
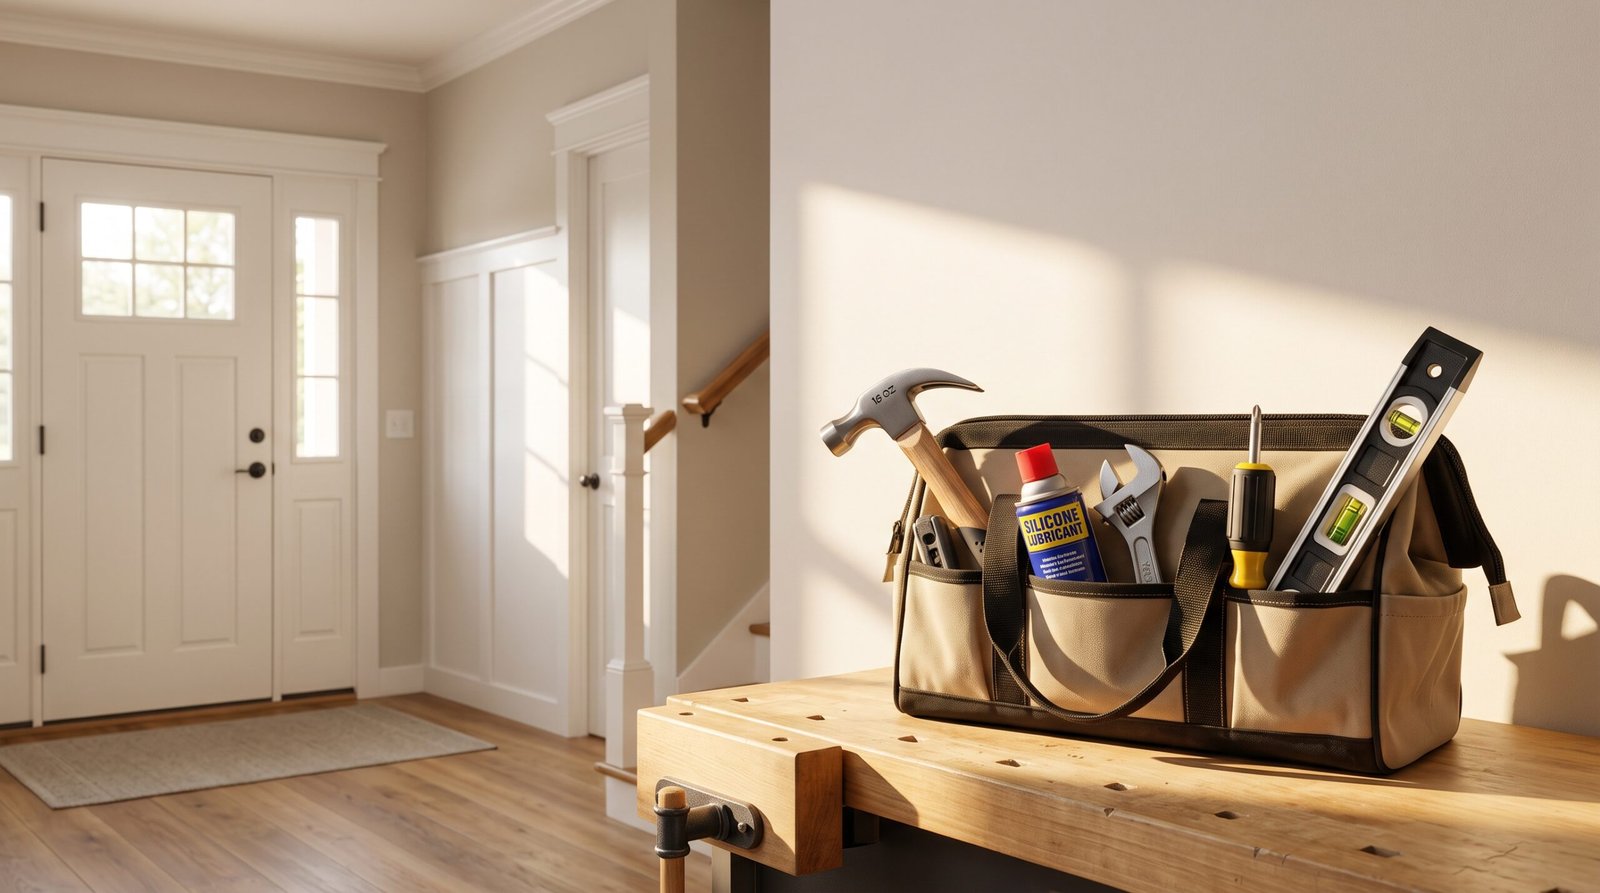
- Build an Everyday Toolkit: A standard 16-oz claw hammer, multi-bit screwdriver, adjustable wrench, putty knife, and utility knife solve over 80% of routine maintenance issues.
- Safety First: Always shut off the local water valve or main electrical breaker before starting any plumbing or electrical maintenance.
- Recognize Critical Limits: DIY is ideal for cosmetic, mechanical, and simple drain fixes; leave main electrical panels, gas lines, and load-bearing structures to licensed pros.
1. Cost Breakdown for Quick DIY Home Repairs
| Repair Task | Primary Tool Needed | Estimated Fix Time | Average DIY Savings vs. Handyman Call |
| Squeaky Door Hinges | Silicone spray or graphite | 5 Minutes | $75 – $125 |
| Running Toilet Tank | Replacement flapper / fill valve | 15 Minutes | $150 – $250 |
| Drywall Gouges & Dents | Putty knife & spackling compound | 20 Minutes (+ drying) | $100 – $200 |
| Slow Bathroom Sink Drain | Plastic drain snake (Zip-It) | 10 Minutes | $125 – $225 |
| Tub & Counter Recaulking | 100% Silicone & painter’s tape | 30 Minutes | $150 – $300 |
2. Silencing Squeaky Hinges and Sticky Doors
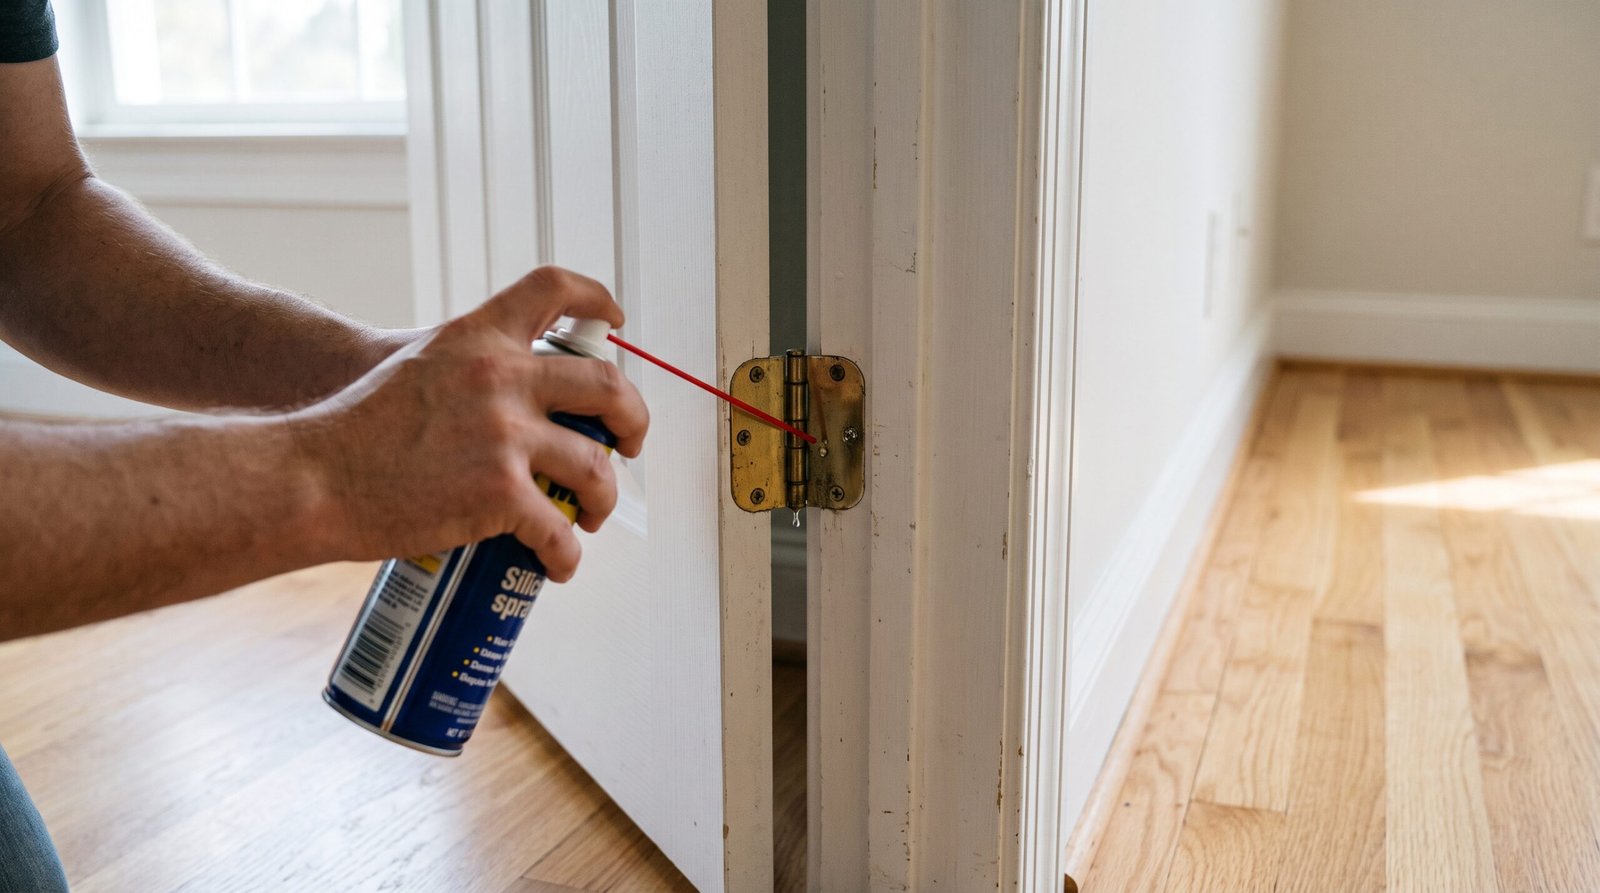
A binding or groaning door is an easy weekend annoyance to eliminate. When it comes to quick DIY home repairs, fixing a squeaky or sticky door is one of the easiest tasks you can tackle.
- Clean and Lubricate: Avoid vegetable oils or cooking sprays, which turn rancid, gum up internal pins, and attract dust. Instead, use a dry graphite lubricant or silicone-based spray. Spray directly into the hinge knuckle seams while swinging the door back and forth to draw the lubricant inward.
- Scrub Corroded Pins: For stubborn squeaks, tap the hinge pin up and out from the bottom using a hammer and a standard nail punch. Buff away rust with fine steel wool, apply a light film of white lithium grease, and tap the pin back flush.
- Fix Stripped Screw Holes: If the door sags and drags along the strike jamb, the top hinge screws are likely loose. Back the screws out, tap a wood-glue-coated wooden golf tee or matchsticks into the stripped hole, cut it flush, and drive a 3-inch wood screw deep into the wall stud behind the jamb.
3. Fixing a Running or Constantly Filling Toilet
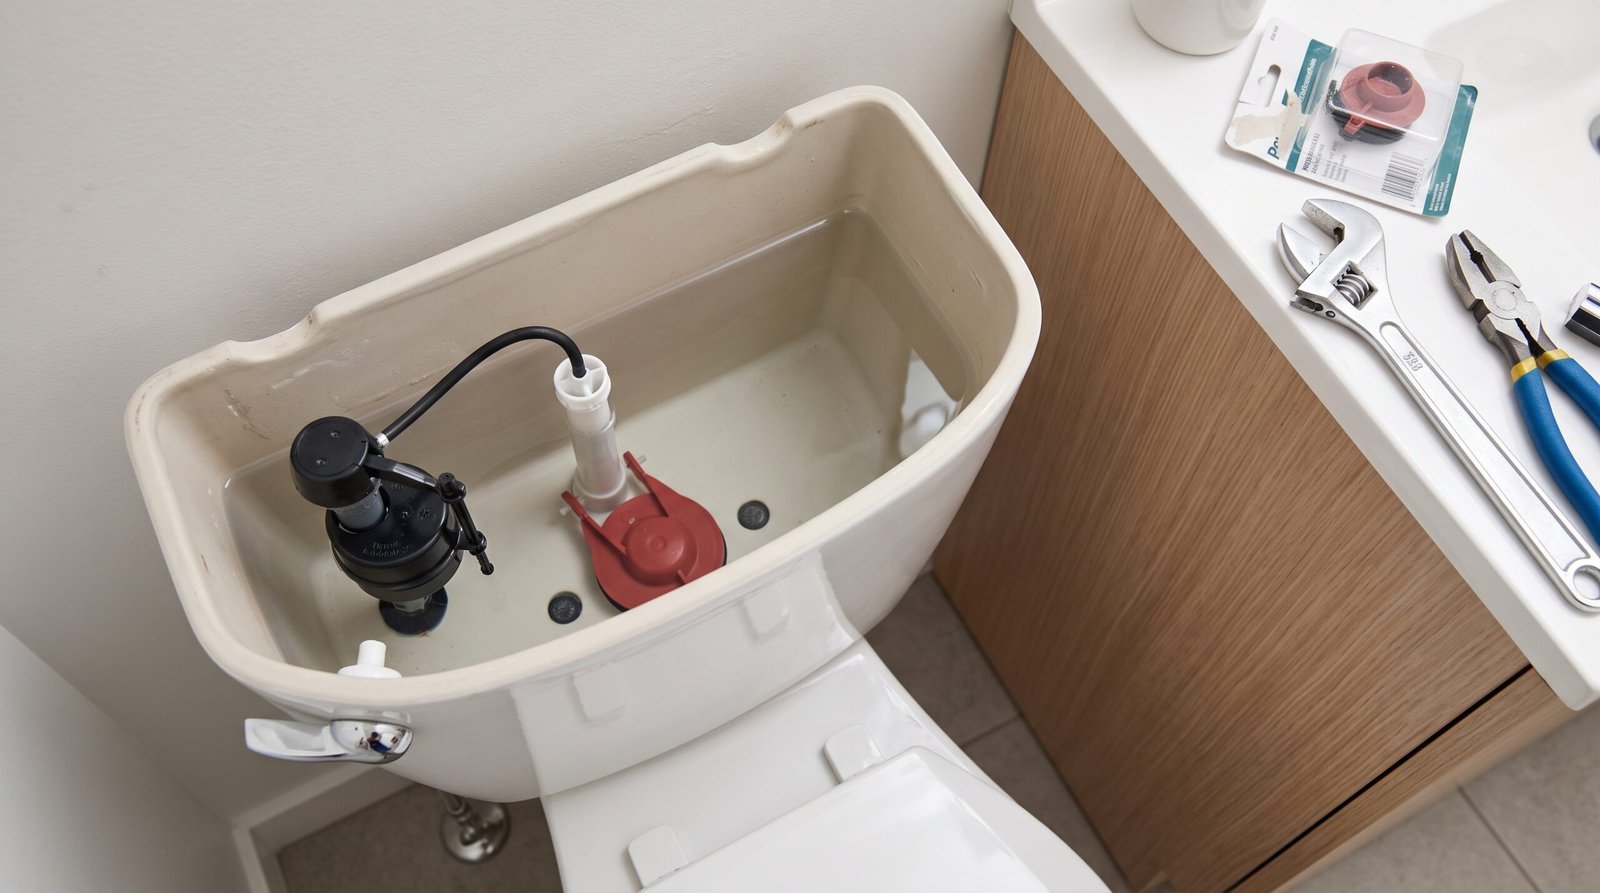
A running toilet can waste over 200 gallons of treated water daily, driving up your water bill significantly. Nearly all internal tank problems trace back to three cheap, readily available components.
- Test the Rubber Flapper: Turn the shut-off valve behind the toilet clockwise until tight, then flush to drain the tank. Inspect the flapper at the bottom of the flush valve. If it feels gummy, brittle, or mineral-crusted, unhook the ears and swap it with a universal chlorine-resistant rubber flapper.
- Adjust the Float Water Level: If water continuously trickles into the central overflow tube, the fill valve float is set too high. Turn the plastic adjustment screw on top of the fill valve counterclockwise so the resting water line sits roughly 1 inch below the rim of the overflow pipe.
- Set Proper Lift Chain Slack: The chain connecting the trip lever to the flapper needs about 1/2 inch of slack. Too much slack prevents a full flush; too little holds the flapper slightly off the seat, leaking water 24/7.
4. Patching Small Drywall Holes and Dents
Door handles and furniture corners frequently create unsightly drywall indentations.
- Prep the Surface: Trim away loose paper edges and loose plaster inside the dent with a utility knife to create a clean base.
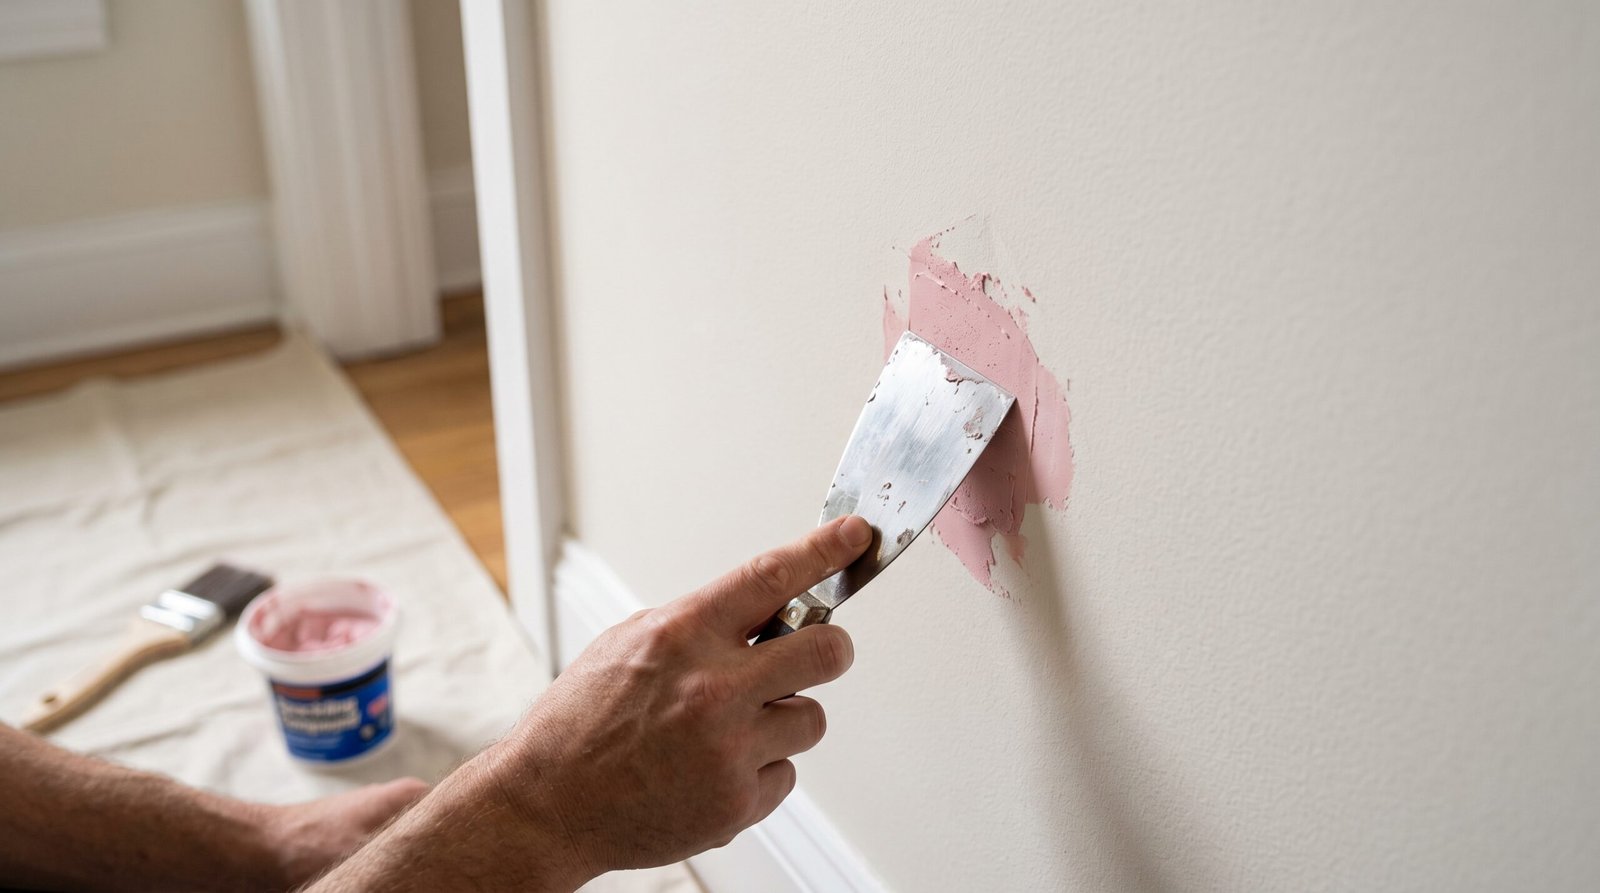
- Apply Spackling for Small Dents: For nail holes and indentations under 1 inch, scoop a small dab of spackling compound onto a 3-inch putty knife. Press the paste firmly into the recess, then scrape across the wall in an “X” pattern to leave the surface flush.
- Among common quick DIY home repairs, patching small drywall dents offers the most noticeable visual upgrade.
- Bridge Medium Holes with Mesh: For holes between 1 and 3 inches, stick a self-adhesive fiberglass mesh patch over the opening. Spread two thin coats of joint compound across the patch, feathering the edges outward 2 to 3 inches past the mesh.
- Sand and Spot-Prime: Once cured, lightly sand the area flush using a 120-grit sanding sponge. Always apply a coat of drywall primer before your topcoat so the patch does not show a dull “flashing” spot under room lighting.
5. Clearing Sluggish Drains and Resealing Fixtures
Clearing Sink Clogs Mechanically
Chemical drain cleaners can soften PVC glue, pit vintage brass traps, and generate hazardous fumes.
- Pull out the bathroom pop-up drain stopper and insert an inexpensive plastic drain snake (Zip-It tool) down the drain opening.
- Twist and extract hair clumps and soap scum.
Clearing clogged drains is another essential skill for quick DIY home repairs that saves you from high plumbing bills.- If the clog sits deeper, place a small bucket beneath the sink, unscrew the two slip nuts on the curved P-trap by hand or using channel-lock pliers, dump the sediment, and screw the connections hand-tight.
Resealing Bathtub and Countertop Caulk
Cracked caulk seams invite water behind backsplashes and tub surrounds, creating costly hidden rot and mold.
- Scrape away degraded caulk completely using a utility razor or plastic caulk removal tool.
- Wipe the joint with isopropyl alcohol to remove soap scum, then dry thoroughly.
- Run two parallel strips of painter’s tape 1/4 inch apart along the seam.
- Squeeze a smooth, continuous bead of 100% silicone sealant into the gap. Smooth the bead using a damp gloved fingertip, and peel the tape away while the silicone is still wet to leave a sharp edge.
Frequently Asked Questions (FAQs)
What are the most common quick home repairs a beginner can safely do?
The most practical starting repairs include replacing toilet flappers, lubricating squeaky hinges, patching small drywall dents, clearing bathroom sink traps with a drain snake, and recaulking bathtub corners. None of these tasks require cutting into building walls or handling live electrical wiring.
What basic tools do I need for standard DIY home repairs?
A versatile starter toolkit includes a 16-oz smooth-face claw hammer, a multi-bit screwdriver, an 8-inch adjustable wrench, slip-joint pliers, a 3-inch flexible putty knife, a utility knife with fresh blades, a torpedo level, and a 16-foot tape measure.
How much money can I save by doing basic home repairs myself?
Homeowners typically save between $75 and $300 per repair by skipping a professional service call fee. Basic materials for tasks like drywall patching, fixing running toilets, or clearing drains usually cost less than $15 to $20 at local home improvement stores.
When should I call a licensed professional instead of attempting a DIY repair?
Always hire a licensed, insured contractor when an issue involves main breaker box electrical upgrades, natural gas lines, pipe sweating/soldering inside closed walls, main sewer backups, or structural foundation issues.
Final Thoughts
Tackling quick DIY home repairs yourself keeps your property running smoothly, cuts maintenance costs, and prevents small annoyances from turning into expensive insurance claims. By keeping a compact toolkit on hand, following simple troubleshooting steps, and respecting safety shutoffs, you can maintain your home with confidence. Pick one small repair around the house this weekend, grab your tools, and get it checked off your list!